

Quickstart
This guide gets you from zero to a running goal in the Control Tower.1. Install the extension
Install NodalMerge Studio from the VS Code Marketplace: Install from the VS Code Marketplace → Or search forNodalMerge Studio in VS Code’s Extensions panel (Ctrl+Shift+X /
Cmd+Shift+X). The extension bundles the Studio host — no separate install of
the nodalmerge or nodalmerge-studio repos required; everything the host needs is
pulled from NuGet automatically.
Prerequisites: VS Code 1.90+ and the .NET SDK 10.0.
The host ships with the extension, but it’s a .NET process — it needs a .NET runtime on the
machine to start.
2. Open the Control Tower
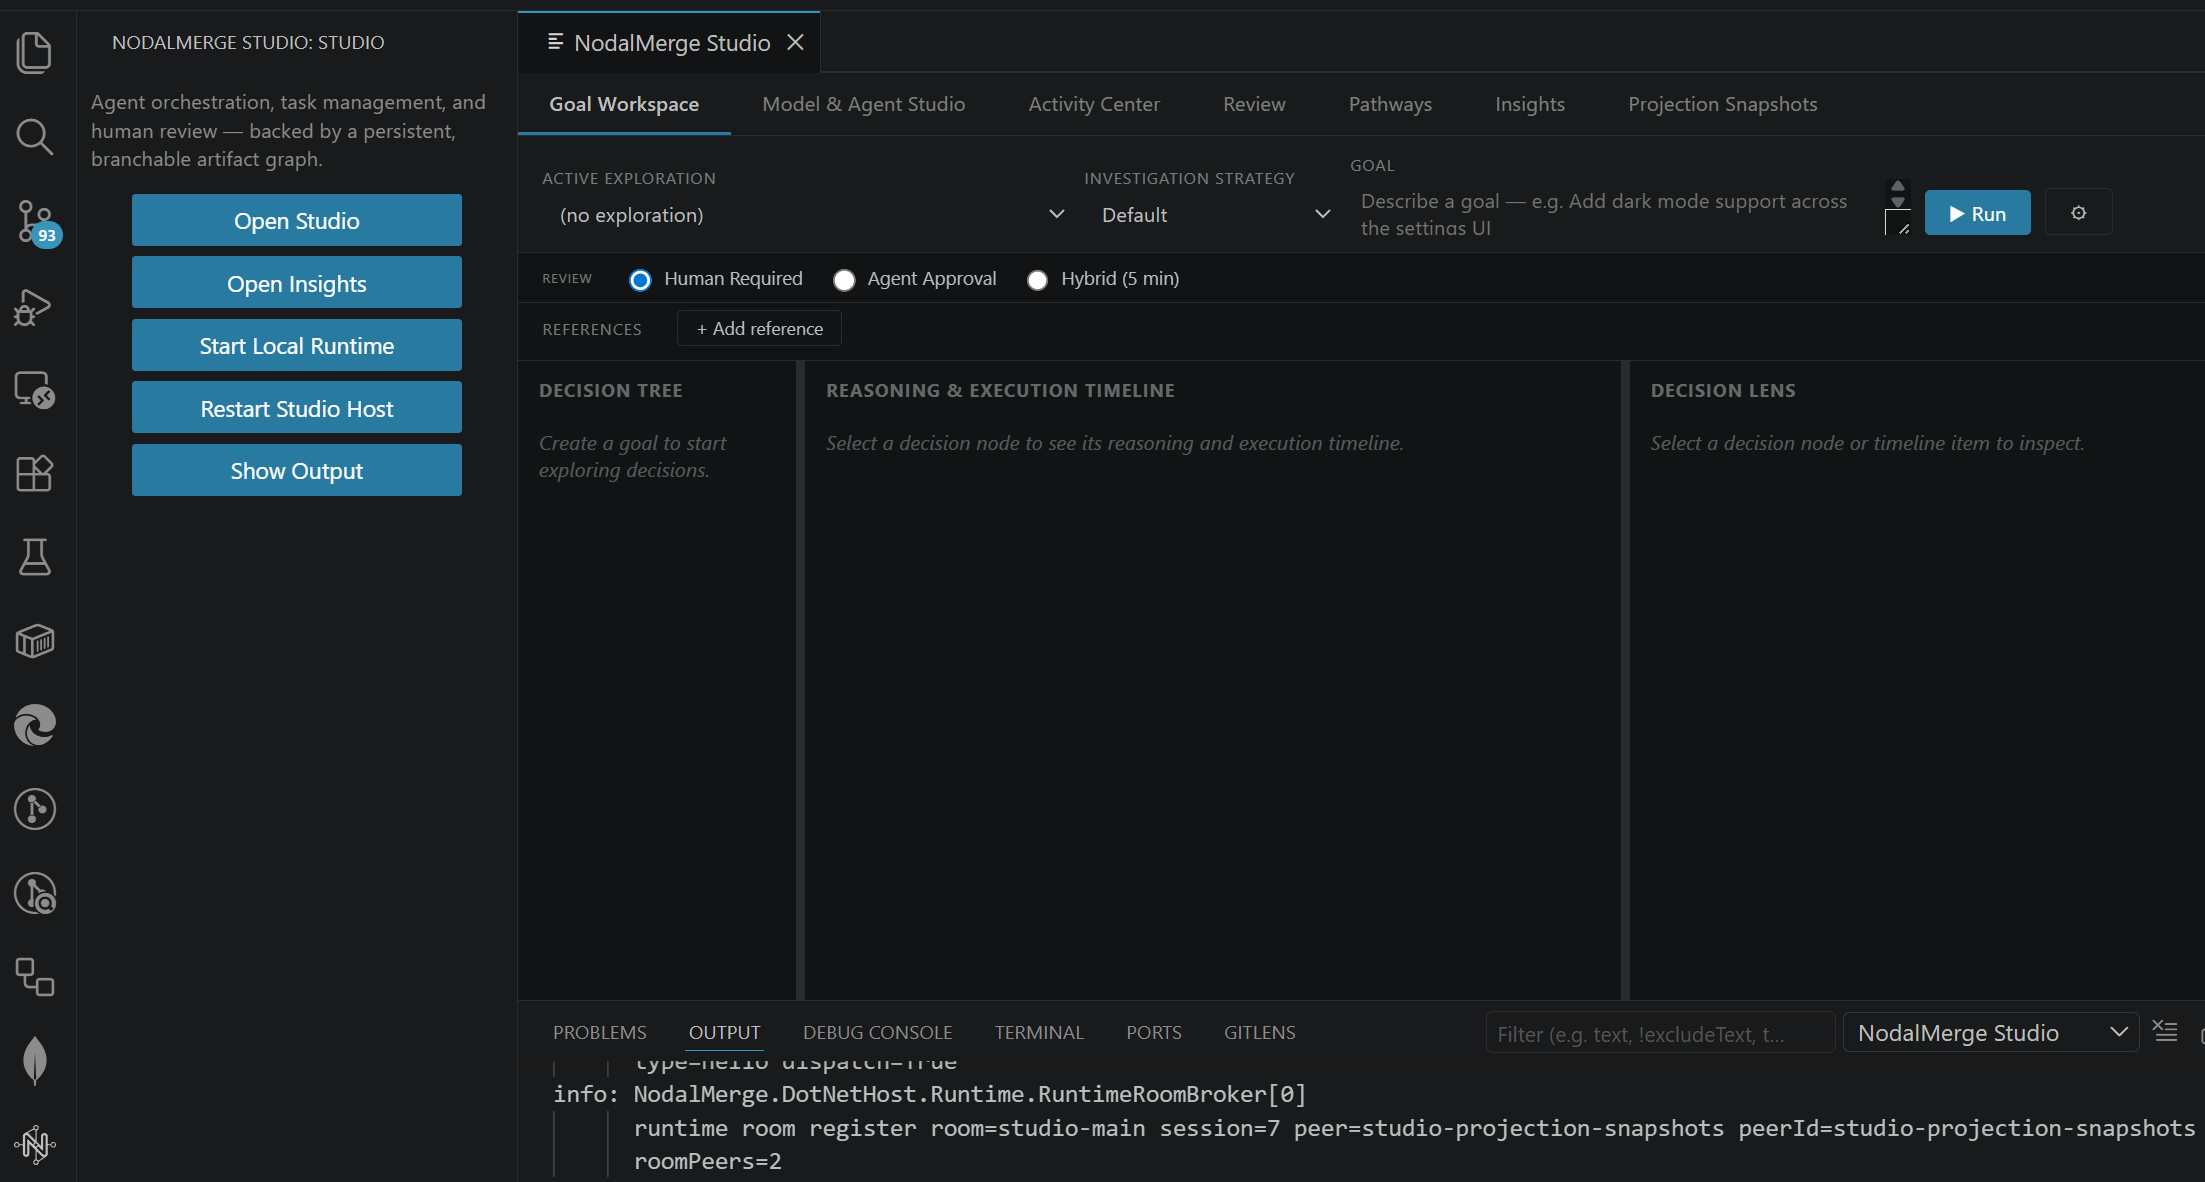
Two ways in:- Command palette — Ctrl+Shift+P / Cmd+Shift+P, then run
NodalMerge: Open Studio. - Side panel — click the NodalMerge icon in the Activity Bar. This opens a quick-launch panel (“Agent orchestration, task management, and human review — backed by a persistent, branchable artifact graph”) with five buttons: Open Studio, Open Insights, Start Local Runtime, Restart Studio Host, and Show Output.
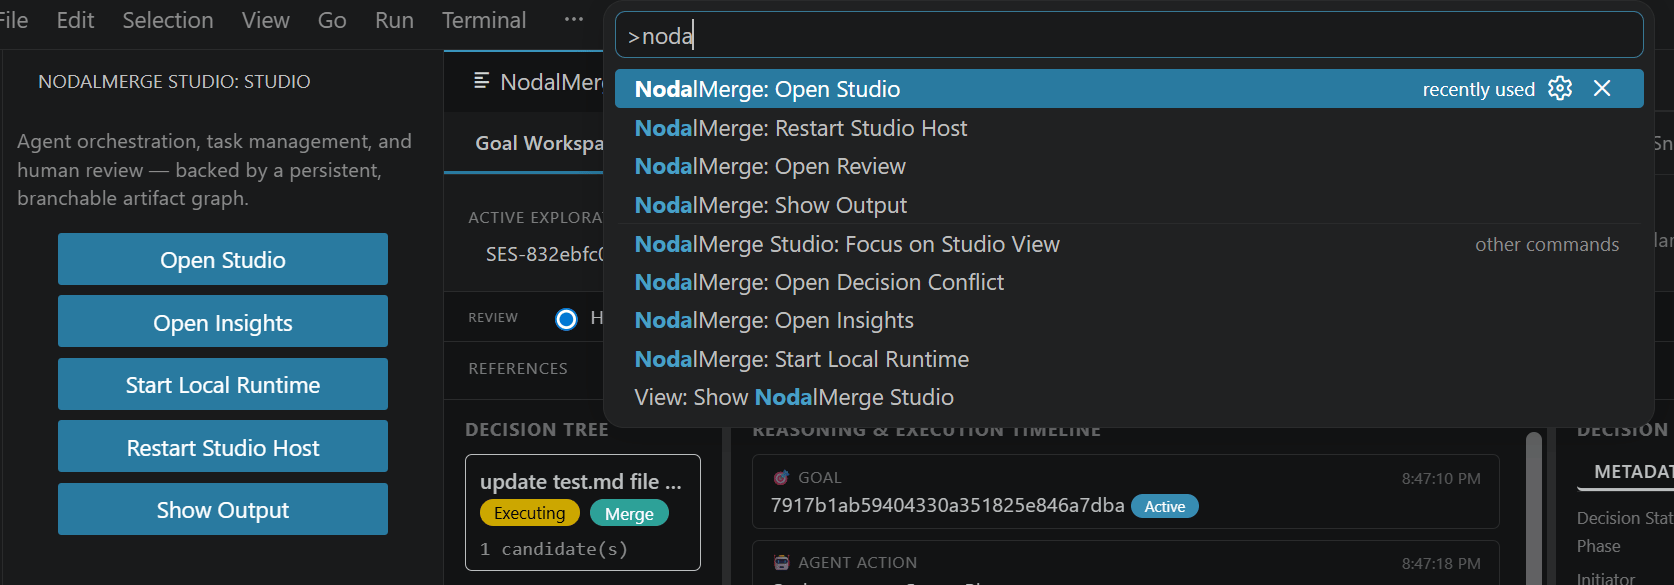
NodalMerge: Open Studio and the rest of the command set from
the command palette directly:
3. Configure an agent profile
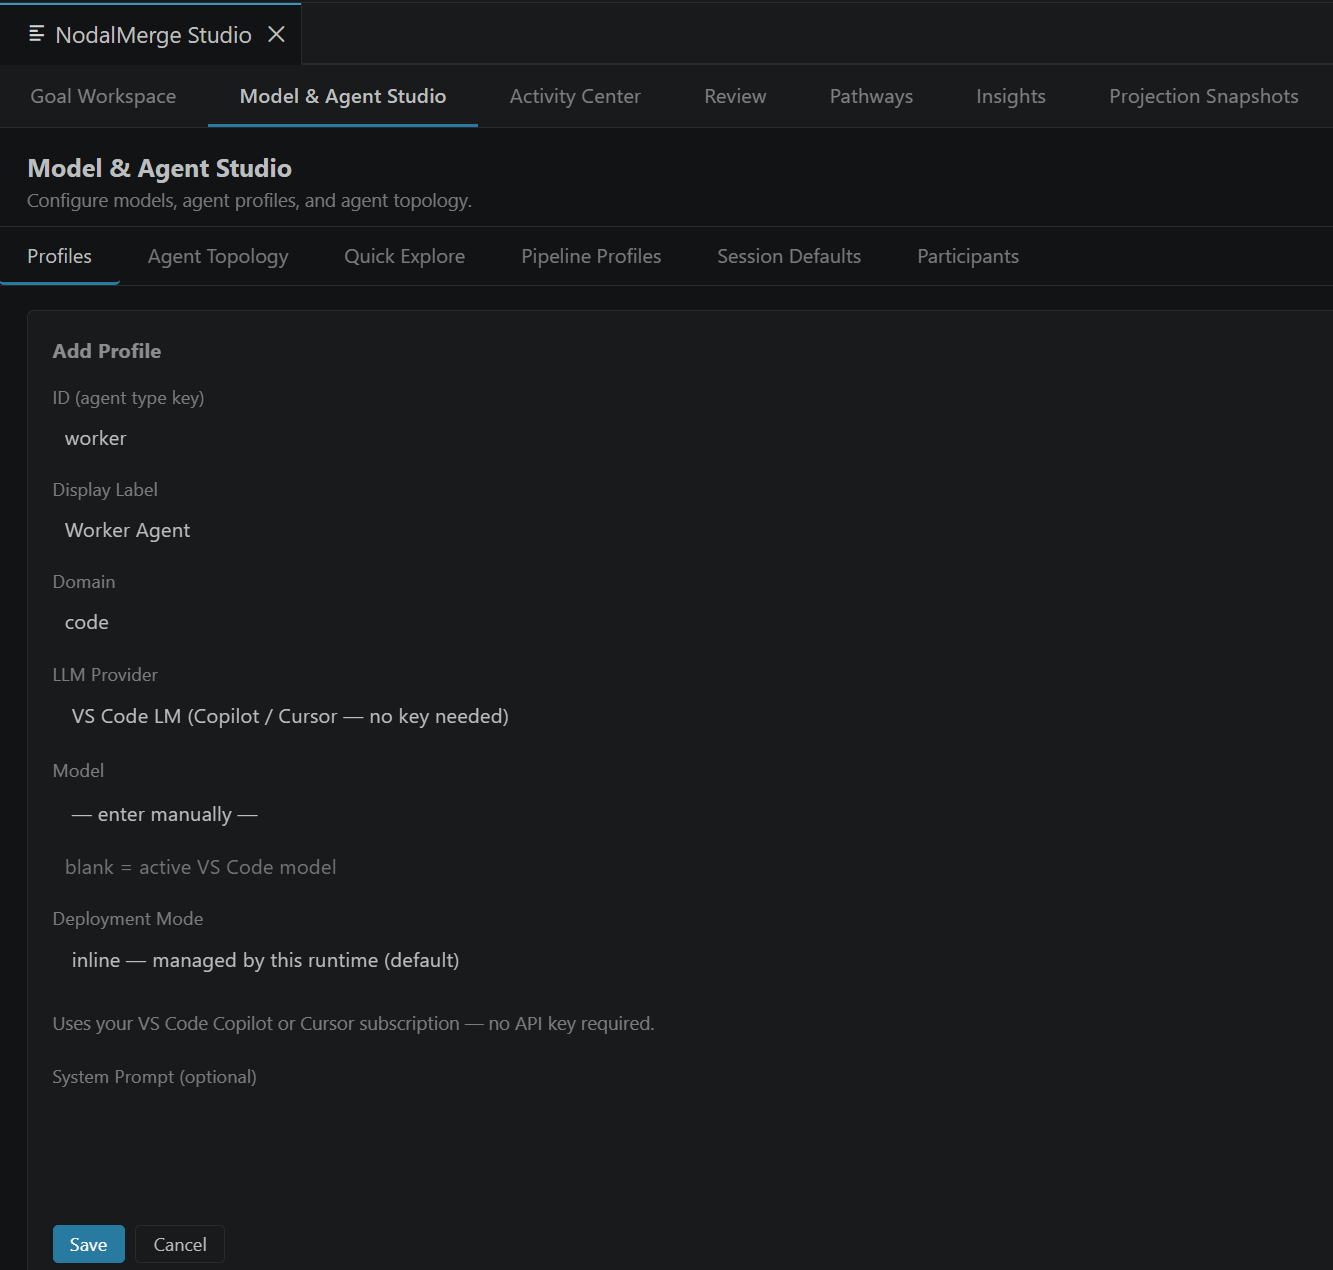
Before you can run a goal, define at least one agent profile in VS Code settings — this maps agent roles to an LLM provider and model:Choosing a provider
provider takes one of five values, in two shapes:
The first three call an HTTP API. The last two don’t: they route the role to a harness executor
that runs the vendor’s own CLI as a subprocess, so prompting, context management, compaction, and
retries stay with the harness while Studio keeps the goals, work units, leases, review, and replay.
CLI providers take no
baseUrl, and apiKeyRef is optional — leave it blank to use the
machine’s ambient CLI login, or store a key to have it injected as ANTHROPIC_API_KEY /
OPENAI_API_KEY for headless use. A blank model means the CLI’s own default. So the shortest
possible profile is:
claude already works in your terminal, that profile already works.
Store API keys via VS Code’s SecretStorage
(Ctrl+Shift+P → “Preferences: Configure Runtime Arguments”, or through the
Model & Agent Studio panel’s Profiles tab).
4. Run your first goal
In the Goal Workspace topbar:- Type a goal, e.g. “Add input validation to the signup form”
- Leave Exploration Strategy at its default (single-agent) and Review: Human Required (the default review policy)
- Click ▶ Run
5. Review and approve the proposal
When a worker finishes, it submits a merge proposal, which routes to Decision Convergence for review (or shows up under Activity Center’s “Pending Decisions”). Inspect the diff, evidence, and rationale, then Accept Decision and Apply Decision.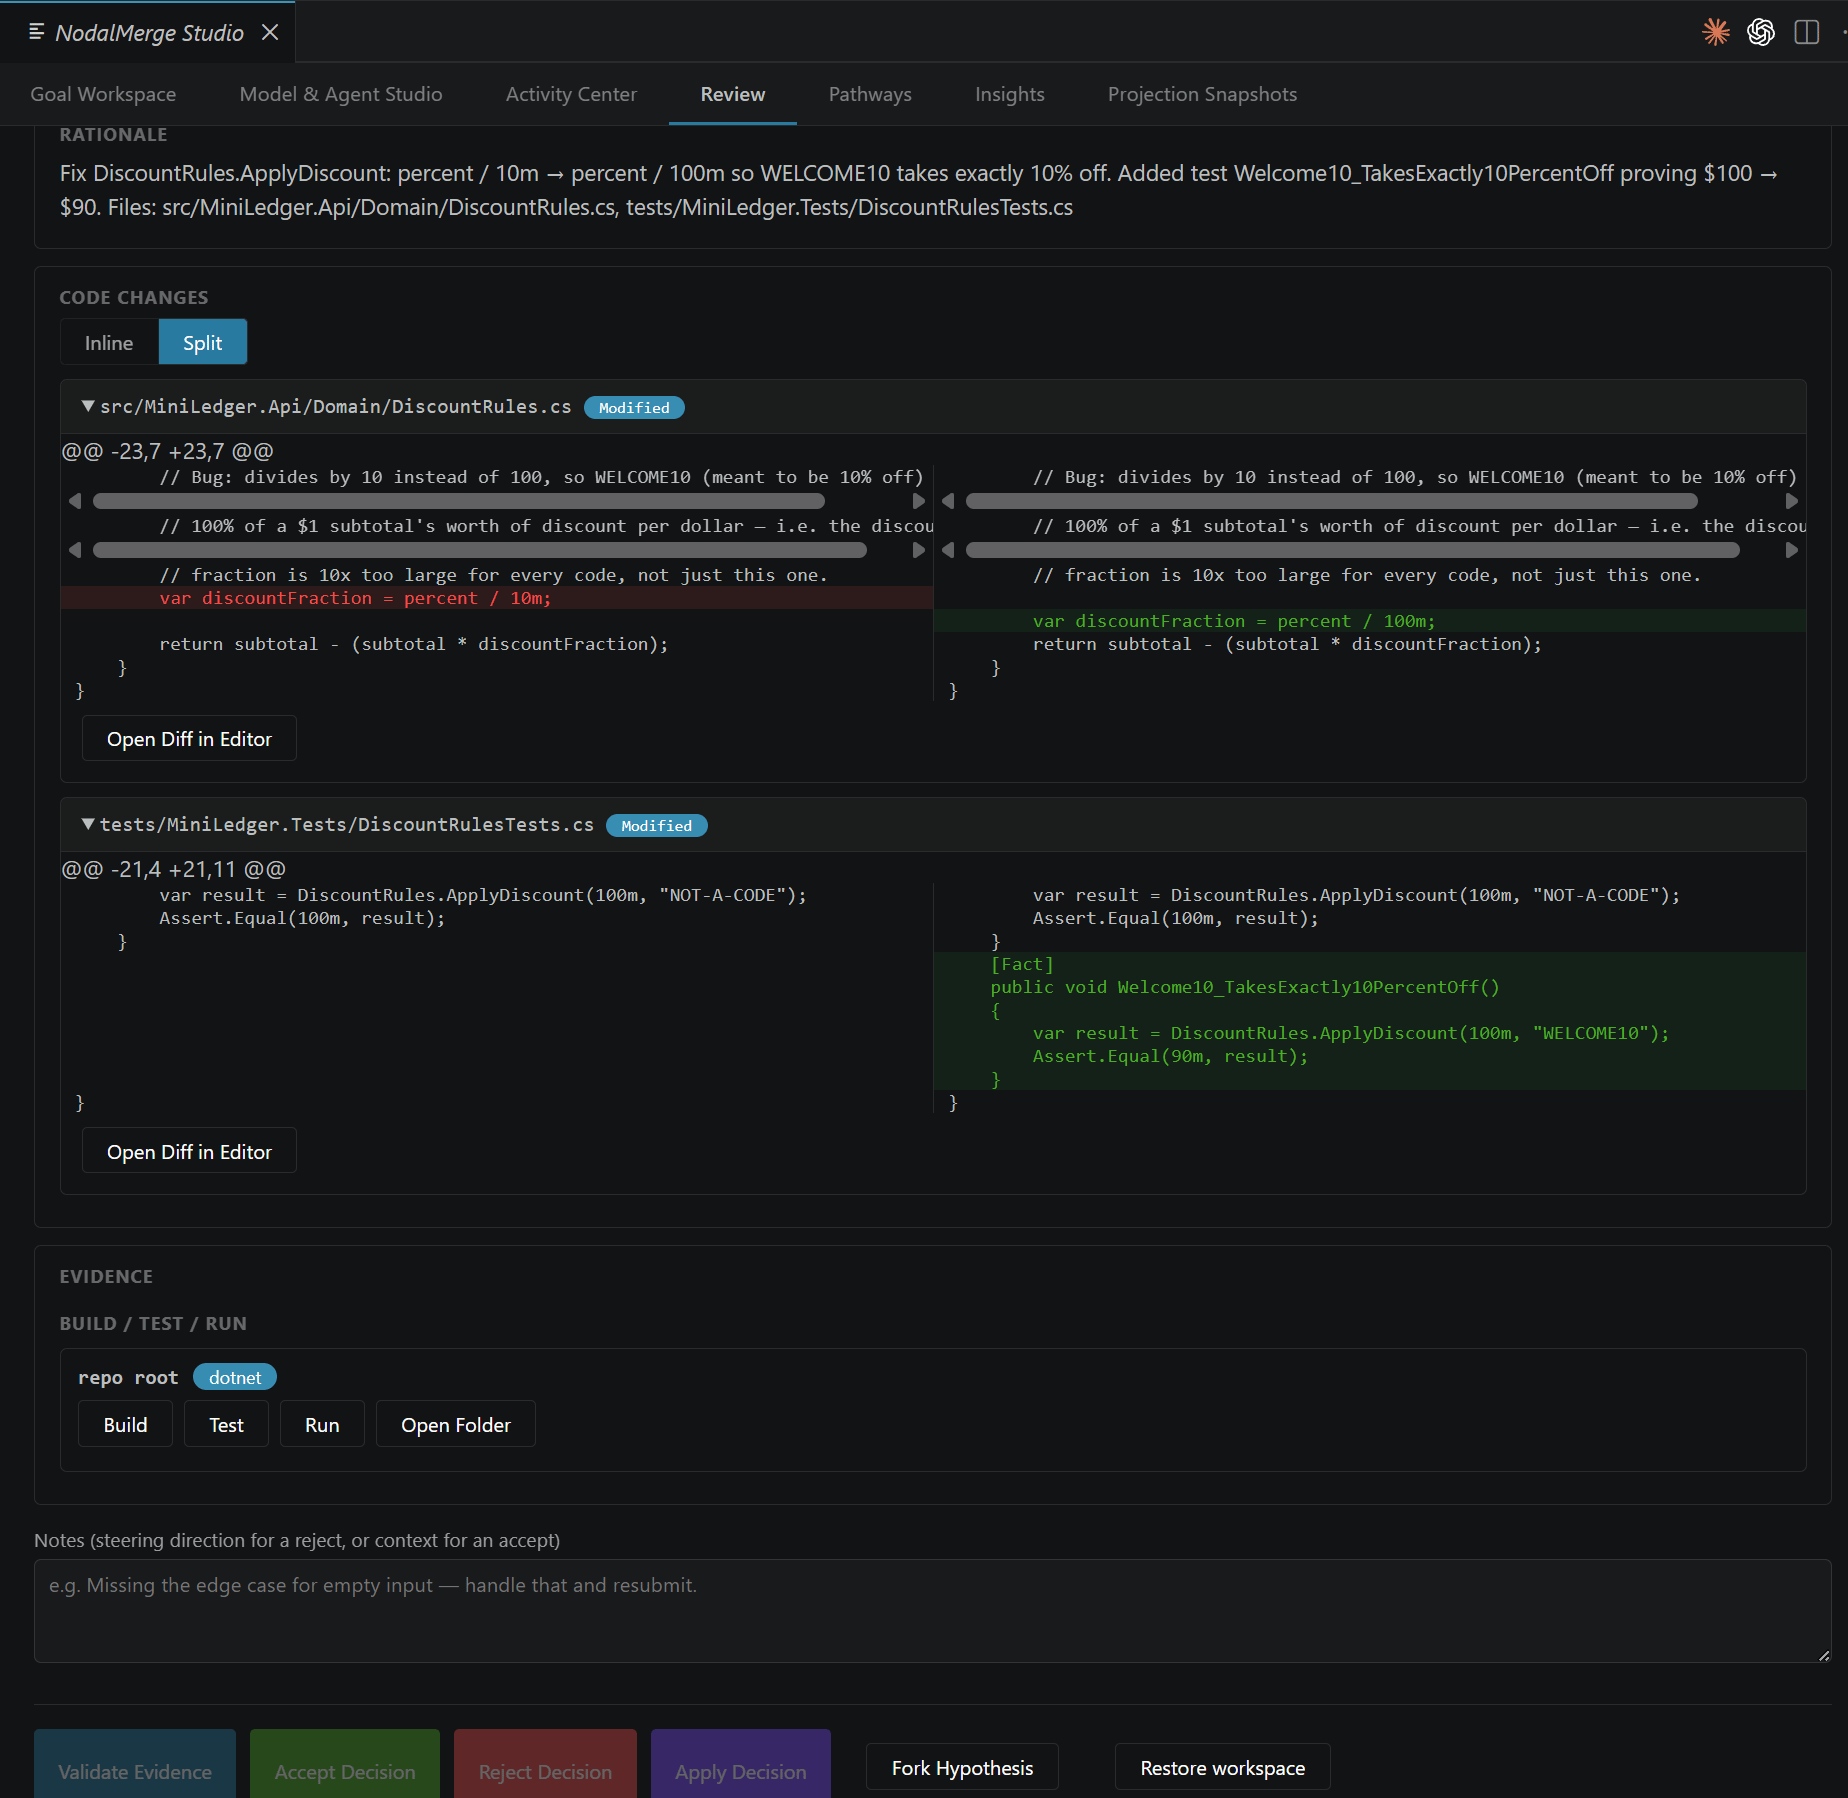
Next steps
- Read Concepts → How Studio works for the mental model behind work units, projections, and branches
- Read Concepts → Trust & autonomy to configure review policy, promotion branches, and experiments for less hands-on runs
- Browse the Control Tower UI reference for every panel and control
- If you’re integrating from CI or an external system rather than the extension, see Guides → Extending goals and Guides → Headless peer
- If you want to build the extension and host from source instead of installing the packaged release, see Guides → Build from source